
Let’s talk about something most people don’t expect. They buy an inversion table for back relief… and the first thing that hurts isn’t their back — it’s their ankles.
If you’ve ever felt pinching, pressure, or sharp discomfort around your ankle locks, you’re not alone. I’ve seen this happen plenty of times. The good news? Ankle pain is usually not a design flaw. It’s a setup issue.
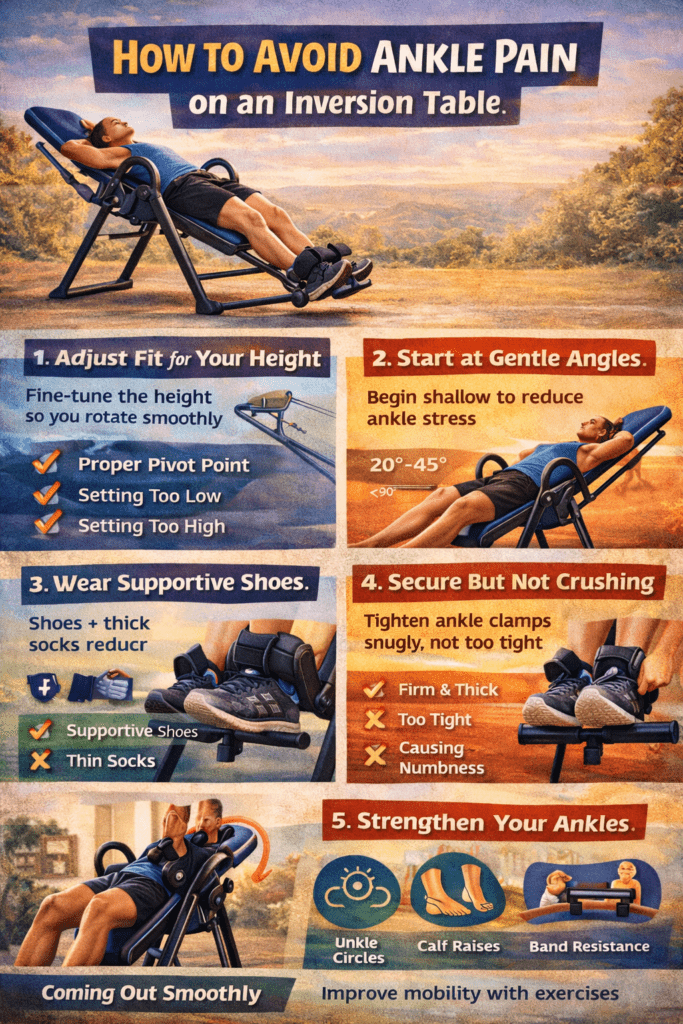
When you use an inversion table correctly, ankle discomfort should be minimal. If it’s not, something needs adjusting. Let’s walk through exactly how to fix it.
Why Ankle Pain Happens in the First Place
When you invert, your entire body weight is supported at the ankle joint. That’s a small surface area carrying a lot of load.
Common causes of ankle pain include:
- Locking pads positioned incorrectly
- Overtightening the ankle clamps
- Inverting too steeply too fast
- Weak ankle mobility
- Using full 90-degree inversion too soon
Most beginners go too aggressive too quickly. You don’t need full inversion to get spinal decompression.
If you’re unsure how inversion actually works mechanically, the guide on how inversion tables work explains how gravity distributes force across your body.
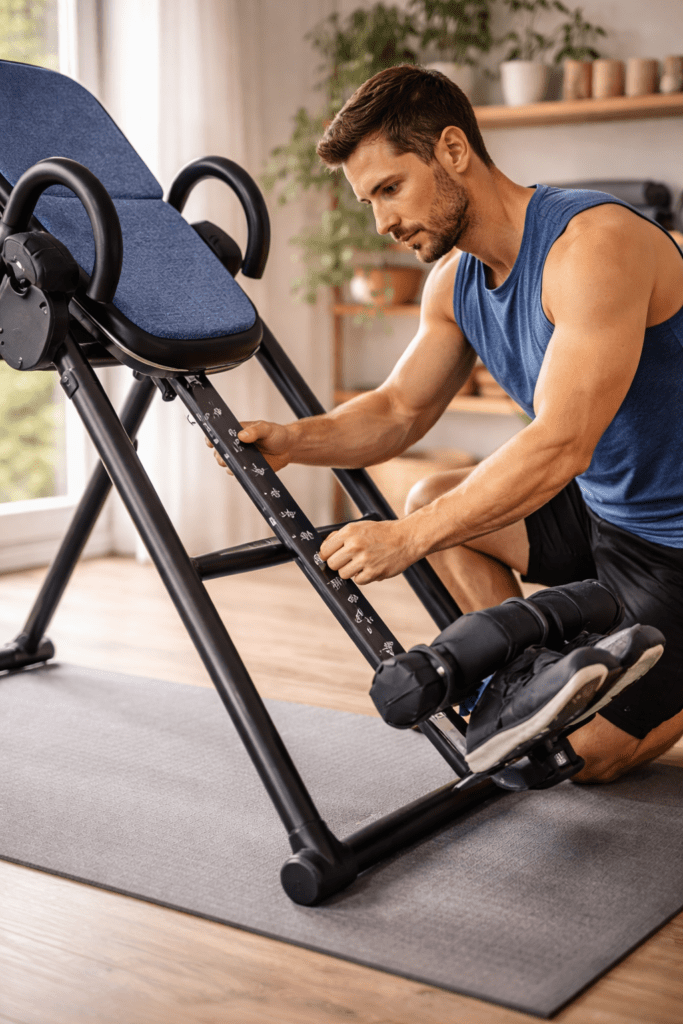
Step 1: Check Your Height Adjustment
This is overlooked constantly. If your inversion table height is set incorrectly, your center of gravity shifts — which increases ankle pressure.
When set properly:
- The pivot point should align with your natural center of gravity
- You should rotate smoothly without jerking
- You shouldn’t have to fight to return upright
If you’re straining or hanging heavily on your ankles, your height setting may be off by even a small amount. Fine-tune it. Small adjustments make a big difference.
Step 2: Don’t Start at Full Inversion
This is where most ankle pain begins. You don’t need 90 degrees. In fact:
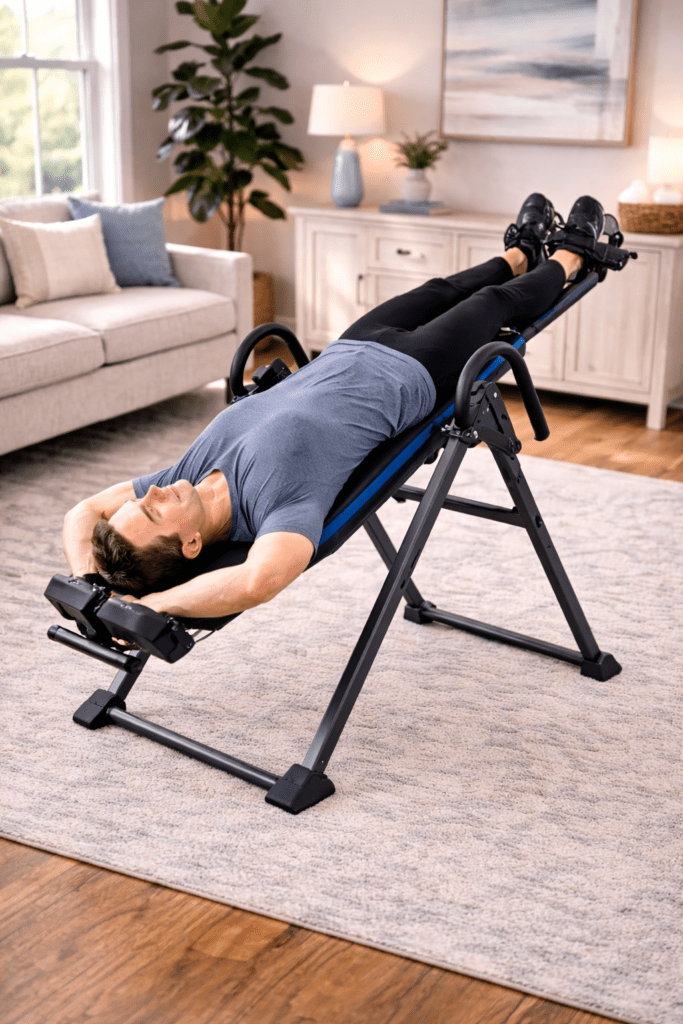
- 20–30 degrees provides gentle traction
- 45 degrees provides moderate decompression
- Full inversion dramatically increases ankle load
If your goal is back relief, moderate angles work extremely well.
The article on how long to stay upside down safely reinforces this — short sessions at moderate angles are ideal. Going extreme early just increases joint stress.
Step 3: Use Proper Footwear
This one surprises people. Bare ankles against foam pads can create pressure points.
Instead:
- Wear supportive athletic shoes
- Make sure the heel is fully seated in the ankle holder
- Avoid thin socks alone
Shoes distribute pressure across a larger surface area and reduce pinching. If you prefer barefoot use, consider adding soft ankle sleeves or padded wraps.
Step 4: Adjust the Ankle Lock Tension
You want secure — not crushing. If the pads are digging into your Achilles tendon or the front of your ankle, you’re overtightening.
The clamp should:
- Hold your ankles firmly
- Not restrict circulation
- Not cause numbness or tingling
If you feel pins and needles, release and reset.
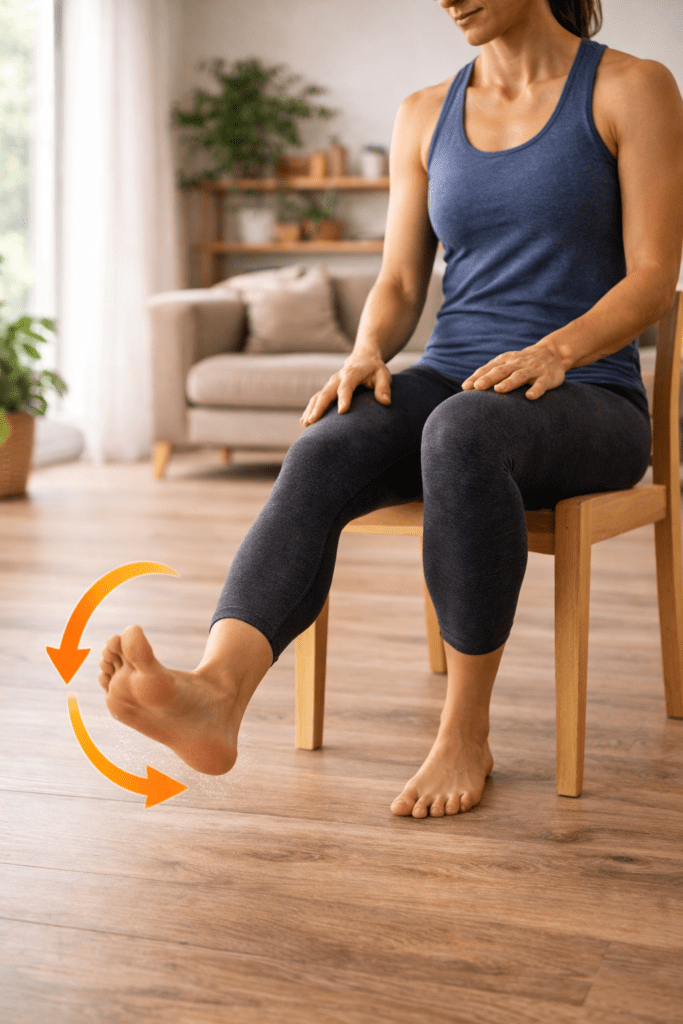
Step 5: Strengthen and Mobilize Your Ankles
Sometimes the discomfort isn’t the table — it’s your ankles. If you’ve had previous sprains or stiffness, inversion exposes that weakness.
Add simple exercises like:
- Ankle circles
- Calf raises
- Dorsiflexion stretches
- Resistance band ankle work
Improved mobility reduces pressure sensitivity.
Trade-Offs and Risks
Let’s be honest. Inversion places real mechanical load on your ankle joints. That’s unavoidable.
If you have:
- Recent ankle sprain
- Chronic Achilles tendinitis
- Severe ankle instability
- Fracture history
You need to proceed cautiously or consult a healthcare provider.
Also remember — inversion increases blood pressure temporarily in the upper body. If you have uncontrolled hypertension or glaucoma, review the inversion benefits and risks page before continuing. Safety matters more than pushing through discomfort.
How to Come Out Without Stressing Ankles
Another overlooked issue: abrupt exit.
When returning upright:
- Move slowly.
- Pause at horizontal.
- Let pressure equalize.
- Unlock ankles gently — don’t kick free.
Snapping upright increases ankle strain. Controlled movement protects the joints.
Realistic Expectations
You may feel mild pressure at the ankles — especially early on. You should not feel:
- Sharp pain
- Numbness
- Burning
- Severe Achilles strain
If you do, something is wrong. Inversion should feel stable and secure. Once properly adjusted, most users report ankle discomfort fades within the first few sessions.
Frequently Asked Questions
Is ankle pain normal when starting?
Mild pressure is normal. Sharp pain is not.
Should I invert barefoot?
It’s possible, but supportive shoes usually reduce discomfort.
Does full inversion increase ankle strain?
Yes, the steeper the angle, the more load on your ankle joint.
How tight should the ankle lock be?
Snug and secure — but not crushing.
Can weak ankles cause inversion pain?
Absolutely, mobility and strength matter more than most people realize.
Reputable Resources
For general joint health and safety guidance:
- Mayo Clinic – Joint Pain Overview
- Cleveland Clinic – Ankle Pain Causes
These offer balanced perspectives on joint care and injury prevention.
Final Thoughts
An inversion table should help your back — not punish your ankles.
If you’re feeling ankle pain, it’s usually one of three things:
- Setup issue
- Angle too steep
- Lock too tight
Fix those first. Inversion works best when you respect biomechanics. Moderate angles, controlled sessions, and proper footwear leads to good ankle health. Dial it in correctly, and your ankles won’t be the limiting factor in your back recovery routine.